Here's a quick post with another one of my go-to side-dishes to complete a meal. As is my usual goal, this offering has a medley of vegetables and bold flavour between the lemon and the cheese. It sounds like a strange combination, but I assure you that you will be pleasantly surprised and that you will want to make this all the time!
Roasted Lemon Vegetables Gratin
1/4 onion, roughly chopped
1/2 zucchini, sliced
one section red pepper, roughly chopped
one section green pepper, roughly chopped
6 cremini mushrooms, quartered
1 tbsp olive oil
juice of 1/2 lemon
salt, pepper, garlic powder
1/4 cup breadcrumbs
1/4 cup Parmesan cheese
grated rind of 1/2 lemon
Preheat the oven to 400F. In a bowl, toss the vegetables with the oil, lemon juice, and seasonings until fully coated. Arrange the vegetables in a single layer on a flat roasting pan. Roast for 20 minutes in the oven, stirring after 10 minutes. While roasting, combine the breadcrumbs, cheese, and lemon rind in a small bowl.
Remove the pan from the oven after 20 minutes and give the vegetables another stir. Top vegetables with the breadcrumb mixture. Turn on the broiler and return the pan to the oven. Broil for 3-5 minutes until the cheese melts and the breadcrumbs brown. Serve immediately.
As you can see, my broiler is a tad uneven and my breadcrumbs got very brown on the one side. (You can also see how well-used my roasting pan is!) Keep an eye on the pan while it's in the broiler to ensure that you don't burn the crumb mixture. The result is savoury and satisfying. Who says vegetables can't steal the spotlight?
For my tunes, I was inspired by the heatwave we experienced at the end of last week. Saturday certainly was not the most opportune day to roast vegetables in a hot oven, but I had a craving for this concoction so I endured the Heat Wave (Martha & the Vandellas).
So I haven't posted any new recipes in the last month. It's been quite busy at work so I've been sticking to the staples and not taking the time to experiment and come up with something new. My creative juices were itching to get out this afternoon, and with it being a lazy Sunday, I had ample time to dream up a new dish. I started as I usually do: with a vague idea of what I want to create. Then I google and see what's already out in the world, and based on my own image of the dish and what others have created, I start my work. I'm calling this dish a chicken taco casserole, since it contains most of the ingredients in a taco but in casserole form. I wouldn't call it a Mexican dish, however, as I gave it my own spin. I'm personally not a fan of very spicy food, and my cupboard is much more full of herbs than it is of spices. My go-to spice for a little heat and smokiness is paprika, so that's what I layered into this dish to give it a slight kick. Chicken Taco Casserole
Preheat oven to 350oF.
In a large skillet, heat 1 tsp olive oil over medium-high heat. Add the onion,
garlic, peppers, and mushrooms. Season with salt, pepper, and 1 tsp paprika,
and sauté for 5 minutes. Add the spinach and stir until it wilts. Add the 1
tbsp of paprika paste and stir until the vegetables are thoroughly coated.
Transfer the vegetables to a bowl.
Add the remaining 1 tsp olive
oil to the pan. Add the chicken breasts and sauté 4 minutes each side. Remove
from pan, and cut into small pieces.
In a small bowl, mix the sour
cream, cream cheese, 1 tsp paprika paste, and 1 tsp parsley.
Spray a glass 12x12 baking
dish with cooking spray. Put ½ cup of the salsa in the bottom of the dish and
spread it to cover. Top with ½ of the ripped tortilla pieces. Then add all of
the cooked chicken. Spread the sour cream mixture on top of the chicken layer.
Top with the vegetables and the rest of the salsa. Sprinkle half of the cheese
on top. Layer on the rest of the tortilla pieces.
Cover with foil and bake for
20 minutes. Bake for 10 more minutes uncovered. Remove from oven and top with
remaining cheese and grape tomatoes. Bake for an additional 5 minutes. Garnish
with chopped green onion and serve.
I snapped a few different pictures of this dish. First, my ingredients ready to begin the layering process:
Starting from the bottom left, I have my two kinds of cheese (marble and medium cheddar), my ripped tortillas, salsa, seasoned cooked chicken cut into small pieces, sour cream mixture, and sautéed vegetables.
There's the finished product when I took it out of the oven after the entire cooking time. I also snapped a side-on view to catch a sneak-peak into the layers:
Finally it was time to plate the dish and see if my experimentation paid off:
I will admit - it really doesn't look too pretty. But in my defense it's a difficult dish to plate. I can assure you, however, that it was delicious and very filling. As always, I encourage you to make additions, deletions, and/or substitutions. Putting in some black beans or a layer of guacamole would add another dimension of flavour. Or using taco seasoning or lime juice on the vegetables and chicken instead of paprika. This is a versatile dish, and I'm sure that I'll make it in a different way the next time I try it.
Even though this is really not a Mexican or Latin dish, it still put me in the mood for Latin music. I took Latin dance lessons in university with some friends and we had a blast learning all the sensual steps. My favourite was always the salsa because of all the hip action. So my tunes for tonight come from Shakira - Hips Don't Lie.
This is a dish I'm pretty proud of. I made it up essentially on the spot with the ingredients that I had, and not to brag, but it was delicious. Working off the Mediterranean theme I crafted a simple, healthy dish packed with flavour. I'm beyond excited to eat these leftovers for lunch tomorrow!
Mediterranean Baked Turkey
2 turkey breasts, pounded out to 1/4 inch thickness, seasoned with salt, pepper, and garlic powder
2 cloves garlic, chopped roughly
1/4 onion, chopped roughly
8 cremini mushrooms, quartered
12 grape tomatoes, halved
2 tbsp balsamic vinegar
2 tbsp honey
salt, pepper, herbs to taste
1/4 cup goat cheese, crumbled
Preheat oven to 375F. Lightly grease an oven-proof glass dish. Pound out the turkey breasts and season on both sides. Arrange in a single layer in the glass dish.
In a small bowl, toss the garlic, onion, mushroom, and tomato with the balsamic vinegar and the honey until thoroughly coated. Season the vegetable mixture with salt, pepper, and your favourite herb. To intensify the flavours, make ahead, seal with plastic wrap, and let sit in the fridge for 1 hour.
Pour the vegetable mix over top of the turkey breasts in the dish. Put in the oven and bake for 20 minutes. After 20 minutes, remove from the oven and add the goat cheese, sprinkling evenly over top. Return to oven and bake for 5-7 more minutes. Serve with a sidedish of your choosing (I did baked potatoes).
The finished meal! There was quite a bit of liquid in the bottom of the baking dish with the vinegar and the liquids released from the vegetables during cooking. You could serve the cooking liquid as an au jus with the turkey. I saved it and poured it into the tupperware container with my leftovers to keep them moist.
You could also personalize this dish more with your favourite vegetables, or toss in more Mediterranean staples like red peppers or olives. This is definitely a repeat meal to be filed with my simple, healthy dinners that come together in under 30 minutes for busy nights.
For my beats, I'm choosing a sweet, simple song to match this dish (that seems to be becoming the theme of this blog...). Here's Into the Mystic by Van Morrison.
I have been neglecting my postings recently. April has been an extremely busy month, and I haven't done much experimenting in the kitchen to produce new dishes to share. One glimmer from the last four weeks is the one sweet indulgence that I baked. Bars are so quick and simple to make when you have a hankering for something sweet. I threw these together with some basic ingredients that I always have on hand.
My Magic Cookie Bars
2 cups chocolate cookie crumbs
1/2 cup butter, melted
2 tsp granulated sugar
1 cup sweetened coconut flakes
1 cup semi-sweet chocolate chips
1/2 cup peanut butter chips
1/2 cup pecans
1 can sweetened condensed milk
Preheat oven to 350F. Mix the first three ingredients together in an ungreased 9x13 inch pan until incorporated and all crumbs are moist. Spread across bottom of pan and press evenly into the corners with fingers. Pre-bake for 5 minutes.
Remove the pan from the oven and let stand for 5 minutes. Sprinkle evenly over the crust the coconut, chocolate chips, peanut butter chips and pecans. Drizzle all over with the sweetened condensed milk. Return to oven and bake for 20 minutes or until set. Let cool thoroughly, and then cut into squares to serve.
Fresh out of the oven and so ooey-gooey! I plated one and took a side-on view so you can see the crust:
Very indulgent with many layers of flavour. I have been the envy of my colleagues at work bringing a square in every day as part of my lunch.
For my beats, I decided to turn to an indulgence from my youth. Since these bars are sweet, frivolous, and satisfying, I'm going with a good old Spice Girls tune. I have a very vivid memory of making a music video to this song with my friends and my little brother (wearing a Baby Spice blonde wig!), so this song never fails to make me smile and feel silly. Here's Stop by the Spice Girls.
I didn't go into my kitchen this evening with the intention of making meatloaf. I actually didn't have much of a plan at all. I had the idea of wanting to make some sort of casserole perhaps, and somehow that idea evolved into me creating my first-ever meatloaf. My recipe is a hybrid of my own general knowledge of what meatloaf is from watching endless cooking shows, and from quickly consulting a few of my cookbooks once I got hooked on the thought. Here's how it came together.
Cheese-Stuffed Meatloaf
1 tsp olive oil
2 cloves garlic, minced
½ red onion, minced
1/3 green pepper and 1/3 other
coloured sweet pepper, chopped
6 cremini mushrooms, sliced
½ package extra lean ground
beef (about 1 ½ cups)
1 egg
1 tbsp barbecue sauce
1 tsp mustard
2 tbsp tomato paste or thick
marinara sauce
½ cup sour cream
1 cup breadcrumbs
1 tsp garlic salt
1 tsp paprika
1 tsp parsley
1 tsp black pepper
½ cup sharp cheddar cheese,
grated
Heat the olive oil in a small
fry pan over medium-high heat. Add the garlic, onion, peppers, and mushrooms
and sauté until soft. Remove from heat and let cool for 5 minutes.
Put ground beef into a large
bowl. Add the sautéed vegetables, egg, BBQ sauce, mustard, sour cream,
breadcrumbs, and herbs and spices. Bring together using the hands into a sticky
mixture. If it appears too wet, add more breadcrumbs.
Line a loaf pan with foil.
Spoon a little more than half of the meatloaf mixture into the pan and spread it
across the bottom and into all corners. Top with the cheese, mounding it in the
middle. Cover the cheese withthe rest of the meatloaf mixture and smooth the
top so the cheese is no longer visible. Bake in a 375oF oven for 35
minutes.
I had some potatoes on hand, so while the meatloaf was in the oven I whipped up a quick mash. Just to tie the whole dish together, I grated some more of the cheese that I stuffed in the centre of the meatloaf and mashed it in with the potatoes.
And there's the finished product! I got three healthy portions out of this meatloaf. (You could easily get four comfortable portions - I just make bigger portions since I'm the only one eating it). The meatloaf was moist and very flavourful with all of the various ingredients I added in. I kept my meatloaf pretty chunky with large vegetable pieces. If you're not as big on the veggies as I am, chop them up quite finely before sautéing them so they won't be as obvious in the finished loaf. I loved how the cheese oozed out of the meatloaf once I cut it into slices, and the bed of cheesy mashed potatoes brought it all together! Not bad for my very first foray into the world of meatloaf.
So yes, as you may have guessed, I'm going the obviously corny route with my tunes tonight. Since my dish is meatloaf, might as well throw up a Meatloaf tune, even though I'm really not that big of a fan. Just for kicks, here's I Would Do Anything for Love.
Don't worry - I'm not the one with a broken heart. I chose the title because I liked the alliteration and because these would be the perfect brownies to heal any love-life woes. This is another one of my almost homemade recipes, like my Butter Pecan Cupcakes. It takes a brownie mix and adds in some magic to make a delicious concoction that looks and tastes like it could be homemade. This recipe is also ideal for the broken-hearted because it's quick and easy. When your heart is hurting, you don't have the time or the energy to bake brownies up from scratch. These come together in no time using just one bowl and then throwing the mix in the oven. For very little work, you're rewarded with a delectable heart-healing treat.
Broken Heart Brownies
1 package brownie mix
ingredients to prepare brownies as stated on package
1 tsp vanilla extract
1 tsp cinnamon
3/4 cup sweetened flaked coconut
1/2 cup pecans/walnuts
1 cup semi-sweet chocolate chips (if the brownie mix doesn't contain chips/chunks already)
Preheat the oven to 350F. Grease the bottom of an 8 inch square pan. Add in the ingredients specified on the brownie mix package, but don't mix in right away. Add in the additional ingredients (vanilla, cinnamon, coconut, nuts, and chips) and then mix thoroughly until the batter comes together. Spread the batter into the prepared pan and bake for 35 minutes.
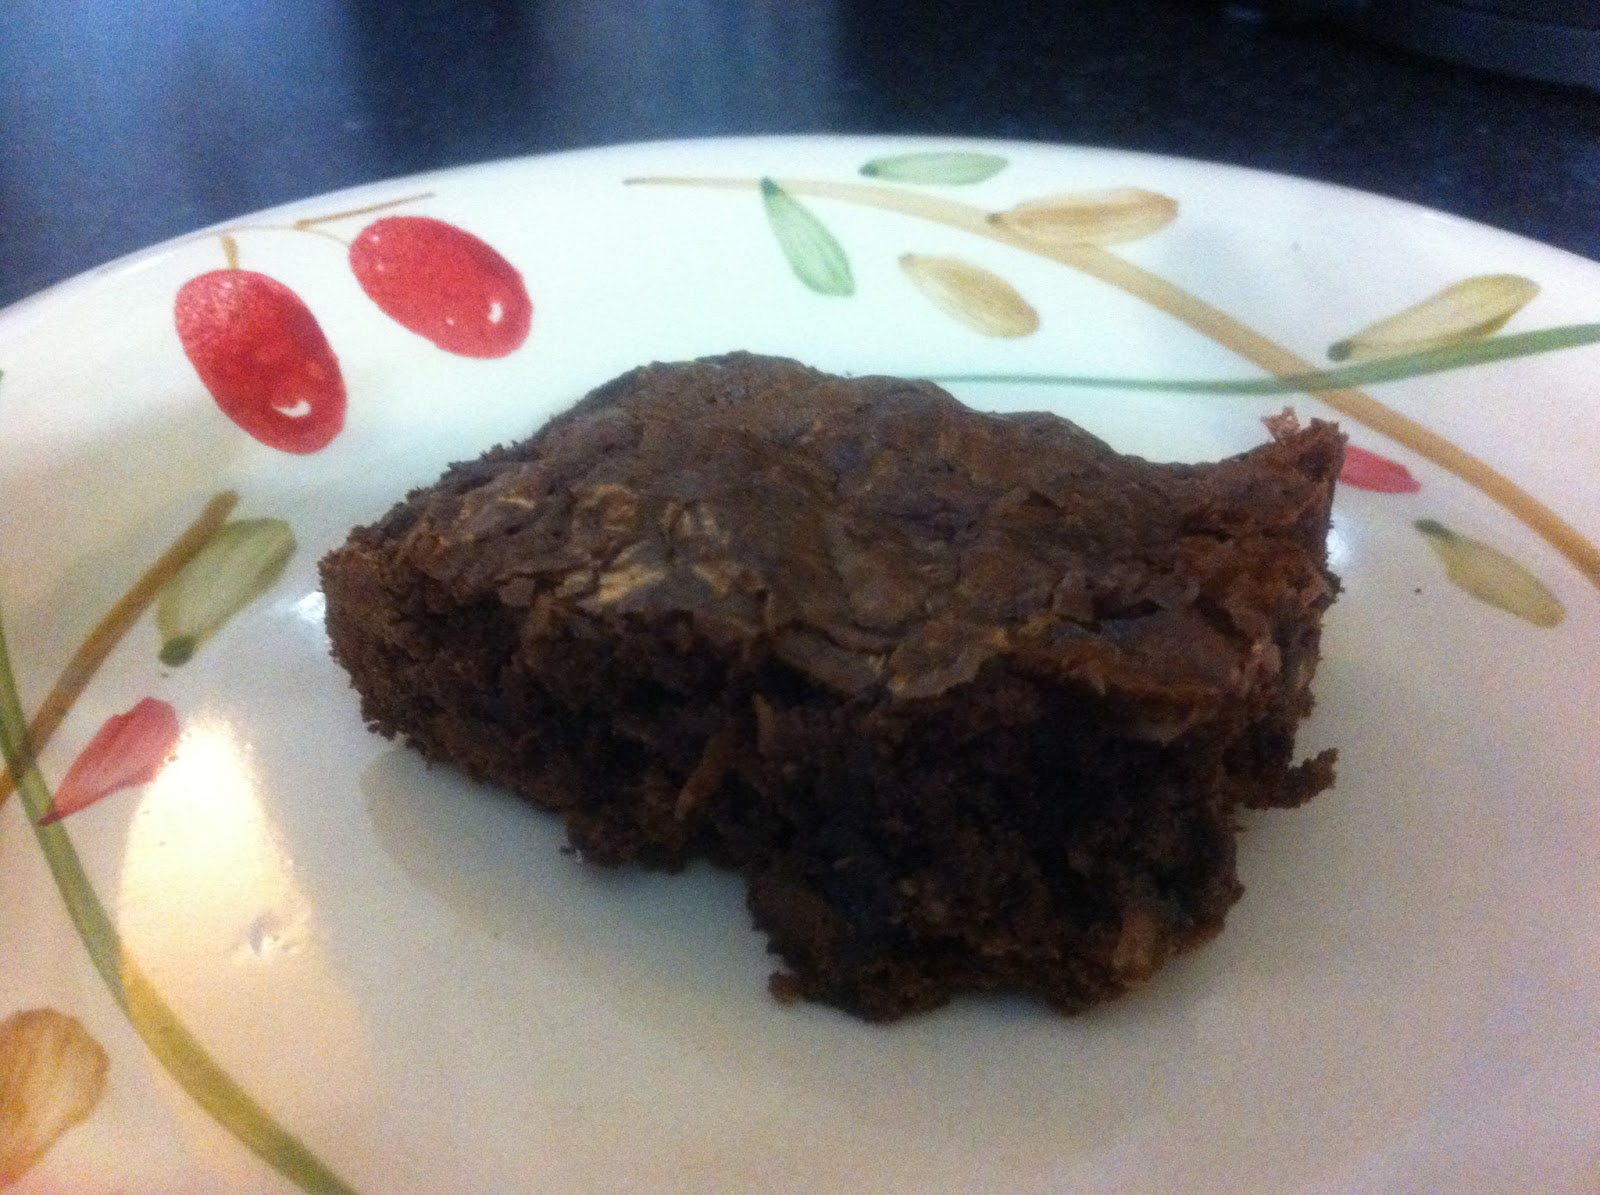
All it takes is some stirring and spreading and voilà:
Moist, chewy brownies with lots of little suprises inside! The coconut flakes give the brownies a more chewy texture, and the cinnamon adds an exotic flavour that plays up the chocolate.
I ate my brownie plain, but for those truly in need of some heart mending, you could add a scoop of ice cream, some chocolate or caramel sauce, whipped cream, the list goes on. Bottom line is these brownies will have you back in your happy place in no time.
My beats match the broken heart theme. I was introduced to this band by my friend Courtney from university when we went on a road trip for March Break last year. She provided the tunes for the drive and put in an album by The Airborne Toxic Event. I fell in love with every track and still listen to them now. The song I chose is one of the best break-up songs I have ever heard. It's about running into an ex who you still have feelings for, and it captures the true raw emotion of that moment. Here is Sometime Around Midnight by the Airborne Toxic Event.
I've been on a kick lately where I'm experimenting with using espresso in baked goods. It helps that I own a Tassimo machine so I can quickly and easily brew as many espresso shots as I like, and I bought a package of espresso T-discs solely for the purpose of baking. This recipe is the one that turned out the best of all of my experiments. The dough itself was almost better than the baked cookies - I probably could have eaten the whole bowl! I can't even truly describe the flavour notes added by the espresso - it highlights the sweetness, but the espresso itself is somewhat bitter. Altogether it almost makes the cookie taste creamy and smooth (that sounds weird I know, describing a solid with the adjective "creamy" but it's all I can come up with right now). However you describe it, these cookies are delicious.
Chocolate Chip Espresso
Cookies
½ cup butter, softened
1 cup brown sugar
1 egg
2 tsp vanilla extract
1 shot espresso, cooled
1 ¾ cup all-purpose flour
½ tsp baking soda
½ tsp baking powder
¼ tsp salt
1 ½ cups semi-sweet chocolate
chips
Preheat
the oven to 375oF. Beat the butter and sugar together. Add the egg
and vanilla and beat until fluffy. Add the shot of espresso and mix well. In a
small bowl, mix together the dry ingredients (flour, soda, powder, salt). Add
to the wet ingredients in two additions, mixing well after each. Mix in the
chocolate chips. Drop by teaspoonfuls onto a baking sheet and bake for 8-10
minutes. Makes 2 dozen. Cookies fresh out of the oven:
I found the espresso flavour was actually stronger in the raw dough than in the finished cookies. It mellowed out through the baking process but still highlighted the sweetness and smoothness of these cookies.
There's a gorgeous close-up for the texture of the cookies - very buttery and chewy. Now for the beats. Since I described the espresso as being bitter but also emphasizing the sweet in the cookies, my mind automatically jumped to one song: Bittersweet Symphony by The Verve.